How to Build a Corrective Exercise Program
Learn how to design a corrective exercise program with practical assessment steps, mobility drills, and progression rules to fix imbalances and train pain-free.

You finish a long shift, head to the gym, and follow the same program you've used for months. Your squat numbers look respectable, but one hip keeps shifting. Your bench press feels strong, yet the same shoulder pinches near the bottom. You add more stretching, swap exercises, and push through another week, but the problem keeps returning.
That pattern usually calls for more than motivation. A corrective exercise program gives you a practical way to identify the movement limitation, train the missing mobility or stability, and return to your main lifts without turning every session into rehabilitation. The process works best when it fits the schedule you already have, including early mornings, late nights, and unpredictable shift work.
Why Your Current Routine Might Be Failing You
A lifter can train consistently and still reinforce the same compensation every session. Consider a regular squatter whose right foot turns out as depth increases. The lifter may blame ankle mobility, add heavier shoes, or widen the stance, while the limitation involves how the hip, ankle, trunk, and foot coordinate under load.
The same issue appears in pressing. A shoulder that hikes during an overhead press may not need endless stretching. It may need better thoracic positioning, controlled scapular movement, or stronger upward rotation. Adding load before identifying the restriction only teaches the body to produce force through the workaround.
Practical rule: Find the movement that breaks down before you add intensity to it.
Corrective exercise isn't reserved for people with a formal diagnosis. It's a tuning process for active adults who want to keep lifting, running, or playing sport without repeatedly meeting the same obstacle. The purpose isn't to chase perfect posture. The purpose is to improve the specific movement quality that limits training tolerance or daily function.
The evidence supports treating this work as measurable training rather than vague mobility maintenance. A 2023 systematic review of corrective exercise for older adults reported a 34.68% reduction in musculoskeletal disorder prevalence and a 68.34% reduction in pain intensity after the intervention, with improvements reported across areas including the neck, pelvis, and left knee. The study also reported an 11.89% reduction in overall musculoskeletal disorder prevalence in the intervention group after the program.
Stop treating discomfort as a programming identity
Pain that changes your technique, limits your range, or appears in the same part of every session deserves attention. You don't need to stop all training, but you should modify the aggravating movement and determine whether the issue is related to mobility, stability, control, load, fatigue, or some combination.
That matters even more if you're training after a demanding shift. The practical guidance in this resource on exercising when tired is relevant because fatigue can expose poor control and make a normal limitation look worse. A corrective plan should account for your readiness, not pretend every session starts with the same coordination and energy.
The working sequence is simple: screen first, classify the limiting pattern, choose targeted drills, then re-test. That sequence keeps corrective work from becoming a random collection of bands, stretches, and balance exercises.
Assessing Your Movement Baseline
You can't choose a useful drill if you haven't identified the movement that needs attention. A baseline doesn't require a laboratory or a clinical degree. It requires consistent conditions, a phone camera if possible, and enough patience to observe what happens before fatigue changes the result.
Start with body weight. Use a dowel, PVC pipe, or an unloaded bar for overhead positions, and record yourself from the front and side. Don't force depth or range. The purpose is to see your natural strategy, not to win a flexibility contest.
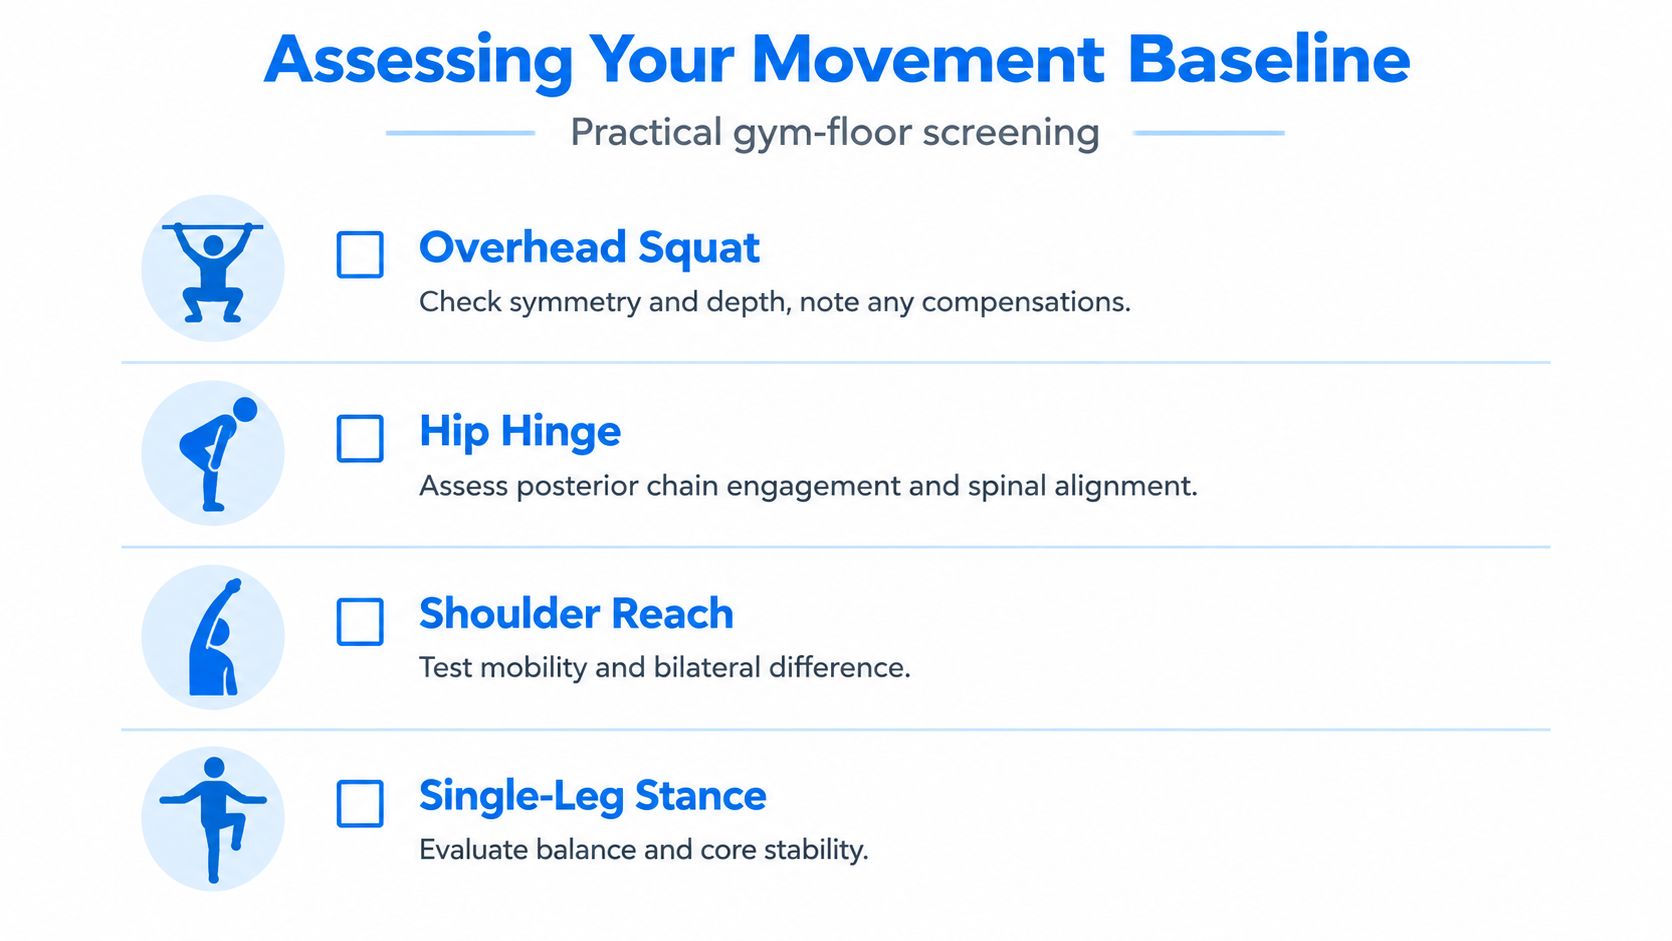
Use four simple gym-floor checks
Overhead squat: Stand with your feet in your normal squat stance and reach your arms overhead. Watch for a heel lift, knee collapse, weight shift, excessive forward lean, or arms falling forward. A single compensation doesn't diagnose the cause, but it tells you where to investigate.
Hip hinge: With a dowel touching your head, upper back, and tailbone, push your hips backward while keeping the three contact points as consistent as possible. Notice whether your spine extends early, rounds, or rotates. This gives you a cleaner look at posterior-chain control than loading a bar immediately.
Shoulder reach: Reach one arm overhead and the other behind your back, then reverse sides. Compare the path, range, and rib position rather than trying to force both sides to match. A large difference can point toward a mobility or control problem that deserves a closer look.
Single-leg stance: Stand on one leg without using momentum. Observe pelvic drop, foot gripping, trunk sway, and knee position. Balance isn't only a test of the ankle. It also challenges hip stability and the ability to organize the trunk over the support leg.
The most useful findings are repeatable. If your knee collapses once but tracks well on the next attempt, the issue may be attention or fatigue. If the same shift appears repeatedly, record it as a priority pattern.
Turn observations into a score
Professionals often use a functional movement screen with a 0–3 scoring system across seven movement patterns, for a total score out of 21. In that framework, a score of 14 or higher is associated with lower injury probability, while 13 or less indicates a higher likelihood of dysfunctional movement, as described in the published functional movement intervention.
Don't treat the score as a diagnosis or a prediction of your individual future. Use it as a tracking tool. The same publication reported group FMS scores improving from 14.43 ± 1.90 before training to 17.29 ± 1.38 afterward, which illustrates why re-testing matters. A score gives you a way to compare your movement under similar conditions instead of relying only on whether a drill feels good.
Write down your top two or three limitations:
Restriction: A joint or tissue doesn't provide the range you need.
Control problem: You can access the position but can't maintain it.
Coordination problem: You have the range and strength, but the sequence breaks down.
Load problem: The pattern looks acceptable unloaded but changes under resistance.
That classification prevents you from prescribing stability drills to a stiff joint or aggressive mobility work to a joint that already lacks control.
Selecting the Right Mobility and Stability Drills
The right corrective drill depends on what fails, where it fails, and what happens when you change the demand. A tight feeling doesn't automatically mean a muscle needs more stretching. A weak-looking position doesn't automatically call for heavier strengthening.
For example, if your squat improves when you raise the heels, ankle range may be part of the limitation. If the squat still shifts with the heels raised, the next question concerns hip control, trunk organization, or stance. The modification is useful because it helps narrow the problem.
The distinction between mobility and stability is central. Mobilize a stiff area, stabilize a poorly controlled area, and integrate the result into the pattern that matters. A controlled ankle dorsiflexion drill, half-kneeling hip flexor movement, or thoracic extension exercise may help a restricted position. A side plank, dead bug, split squat, or controlled row may be more appropriate when the available range exists but the lifter can't own it.
Match the intervention to the deviation
Common Deviation | Primary Issue | Corrective Focus | Example Drill |
|---|---|---|---|
Forward head during pressing | Poor neck and thoracic organization | Thoracic mobility plus deep neck control | Wall-supported chin tuck with reach |
Shoulders elevate during overhead work | Limited scapular control or thoracic position | Serratus and lower-trapezius control | Wall slide with lift-off |
Anterior pelvic tilt during hinge or squat | Poor trunk and hip coordination | Hip flexor mobility, abdominal control, glute contribution | Half-kneeling hip flexor drill with posterior pelvic tilt |
Knee collapses inward during a single-leg task | Insufficient hip and foot control | Frontal-plane stability and controlled loading | Supported step-down |
Lumbar extension during overhead reach | Rib flare and trunk-control loss | Exhalation, abdominal bracing, and shoulder motion | Dead bug with band pulldown |
Weight shifts during squat | Asymmetrical mobility or single-leg control | Side-to-side comparison and unilateral control | Split squat with an assisted setup |
These drills aren't universal prescriptions. They're examples of how to connect an observed compensation to a training objective. The research on condition-specific corrective exercise supports that cautious approach. Reported benefits occurred in narrow populations and specific outcomes, including an 8-week NASM-based program involving women with lower cross syndrome and a 10-week program involving male adolescents with forward head and kyphotic posture. The limited generalizability means you shouldn't copy a protocol because your posture looks similar.
Build a small drill library
Choose one mobility drill and one stability or activation drill for your main limitation. Keep the exercises simple enough to perform correctly when the gym is busy. A band, cable, bench, wall, light dumbbell, or foam roller is usually enough.
For a shoulder limitation, a controlled wall slide may be more useful than forcing a long static stretch if the issue is scapular control. For a squat limitation, compare an ankle-rocking drill with a supported split squat. If the ankle improves but the knee still collapses, shift your attention toward control rather than adding more range work.
The same reasoning applies to the hips. Use hip mobility exercises for squats when the assessment points toward restricted hip motion, but don't assume every deep-squat problem comes from the hips. Your stance, foot pressure, trunk control, and fatigue can all change the appearance of the movement.
Keep corrective work low enough in intensity that it improves the pattern without draining the session. The drill should prepare you for better lifting, not compete with your primary training.
Integrating Corrective Work Into Your Training Plan
Most corrective programs fail because they require a separate session that never survives a busy week. A shift worker may have energy for one gym visit after work, not an additional mobility appointment. The answer is to attach corrective work to training you already complete.
Use the warm-up for preparation
Place mobility drills before the lift when they address a restriction that directly affects the session. Before squats, you might use controlled ankle rocks, a supported hip shift, and unloaded squat repetitions. Before pressing, use thoracic extension over a bench, wall slides, and light cable work that teaches the shoulder to move without shrugging.
Keep the sequence focused. You don't need a long circuit that leaves you sweating before the first working set. Perform the drill, check whether the target movement improves, and remove anything that doesn't change the pattern or prepare you for the session.
Pair stability with noncompeting work
Stability drills work well between strength sets when they don't interfere with the next lift. Pair a dead bug with a bench press, a band external-rotation variation with a lower-body movement, or a controlled calf and foot drill with an upper-body exercise. The pairing should preserve lifting performance and keep technique precise.
A practical session might look like this:
Warm-up: Perform targeted mobility and unloaded pattern practice.
Main lift: Complete your planned squat, press, hinge, or pull with a manageable load.
Active recovery: Add a low-fatigue stability drill between working sets.
Accessory block: Use a unilateral or integrated exercise that reinforces the improved pattern.
Exit check: Repeat a simple version of the original movement and record what changed.
The evidence supports short, consistent blocks rather than waiting for a perfect schedule. A summary of corrective exercise programming notes that measurable improvement can occur with 4 weeks of programming at 3 sessions per week, and a workplace program lasting 12 months was associated with higher FMS scores and lower injury-risk cutoff scores at both 6 and 12 months. Those findings don't require you to abandon strength training. They support placing focused work where you can repeat it.
Make 24/7 access useful
Flexible access matters when your schedule changes. A nurse coming off a night shift may use a short corrective warm-up before a reduced-volume session, while a warehouse worker may perform the drills after a normal lifting block when the gym is quieter. The plan should have a full version and a minimum version, so a difficult day changes the dose rather than ending the habit.
Don't promise that better movement scores automatically improve every performance test. The same research summary notes a study where individualized corrective exercises improved FMS scores but didn't improve Army Physical Fitness Test performance. Track both movement quality and the outcome you care about, such as squat technique, pressing tolerance, running mechanics, or daily comfort.
Progression Rules and Knowing When to Re-Test
Doing the same band pull-apart forever isn't progressive programming. Corrective exercises still need an appropriate training stimulus, and the stimulus should become more demanding only when you can maintain the intended position.
Begin by improving execution. Slow the lowering phase, pause at the difficult point, reduce assistance, or use a longer lever. These changes increase control without immediately adding much external load. A supported step-down can become an unsupported step-down, then a loaded split squat, provided the knee and pelvis remain organized.
Progress the quality before the quantity
Use this order:
Position: Can you reach the target position without compensation?
Control: Can you hold it while breathing normally?
Range: Can you move through more of the available range without losing alignment?
Resistance: Can you add a light dumbbell, cable, or band while keeping the same pattern?
Integration: Can you use the quality in a standing, unilateral, or multi-joint exercise?
If the answer to an earlier stage is no, adding resistance usually hides the problem. A heavier load can make a drill feel productive while shifting work into the neck, lumbar spine, or dominant side.
Choose a clear re-test trigger
Re-test when the movement improves consistently during warm-ups and working sets, when symptoms change, or when the drill stops producing a meaningful challenge. A short block is enough to justify checking the original pattern, especially when you're using the same camera angle, footwear, stance, and instructions.
Re-test sooner if the exercise increases pain, creates new symptoms, or causes a compensation you didn't see before. Persistent pain, numbness, loss of strength, or symptoms that affect normal activity should move the decision beyond gym-floor experimentation and toward an appropriate healthcare professional.
Coach's standard: If you can't explain what the drill is changing, you can't justify keeping it in the program.
A successful re-test doesn't mean you graduate from corrective work forever. It means the exercise may no longer deserve the same priority. Move it into a maintenance warm-up, replace it with an integrated variation, or redirect your attention to the next limiting pattern.
The goal is resilient movement under the demands you care about. A better unloaded screen has value, but the stronger test is whether you can squat, hinge, press, run, or work with improved control and fewer recurring barriers.
Maximizing Results With Expert Guidance and Environment
Self-screening can identify useful starting points, but it has limits. You may see that your shoulder hikes or your pelvis shifts without knowing whether the main driver is joint mobility, strength, coordination, pain avoidance, or fatigue. A qualified coach can compare variations, change the setup, and observe whether the compensation responds to a practical modification.
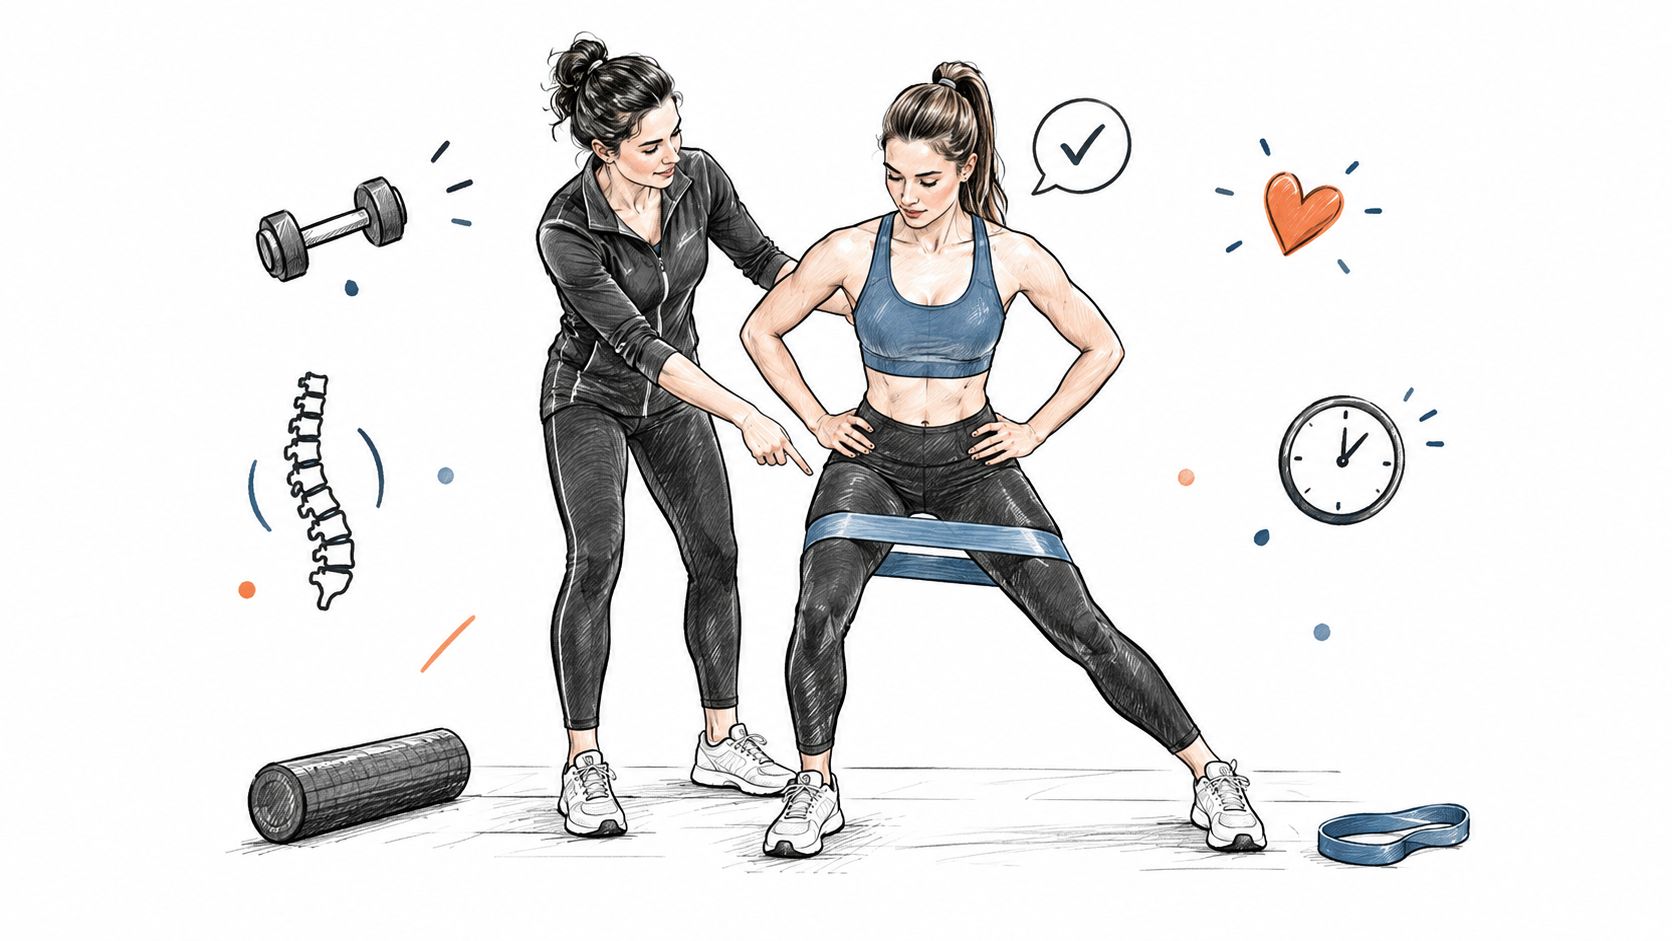
Real-time feedback also prevents you from rehearsing the wrong pattern. A coach can adjust your foot pressure during a split squat, reduce the range of a shoulder drill, or change the load before discomfort turns into a repeated compensation. That precision becomes especially valuable when you're working around a previous injury, recurring pain, or a complex asymmetry.
Coaching should support your main goal
Corrective work shouldn't replace the training objective. If you want stronger squats, the program should connect mobility and stability drills to squatting. If you want muscle gain, the coach should preserve productive volume while selecting variations you can perform consistently. If your schedule changes weekly, the plan should offer practical options for short and full sessions.
One-on-one personal training can provide that adjustment because the coach sees your movement in the context of your goals, equipment, fatigue, and available time. The best setup isn't the one with the longest exercise list. It's the one that tells you what to do today, what to progress next, and what evidence will justify changing course.
A 24/7 gym environment can remove a major adherence barrier for people who work rotating or overnight shifts. Access to modern strength and cardio equipment also makes it easier to move from an isolated drill to an integrated exercise without changing locations. For members in Central Massachusetts, Empire Athletics offers 24/7 access, certified one-on-one personal training, mobility and corrective exercise support, and an on-site cafe with coffee, smoothies, and protein shakes across its Leominster, Lunenburg, and Webster facilities.
Use the environment to reduce friction. Keep a short corrective sequence in your phone, choose equipment that is available during your normal training window, and schedule re-tests instead of waiting until a problem forces a program change.
The following video offers a visual example of coached movement practice. Watch how the instructor controls position, resistance, and alignment rather than chasing a deeper range.
A corrective exercise program works when it becomes part of training, not a punishment added after training fails. Start with a baseline, select drills that match the limitation, progress them like any other exercise, and ask for help when the problem exceeds your ability to assess safely.
Visit Empire Athletics to explore 24/7 gym access, certified one-on-one coaching, and corrective exercise support that can fit around your work schedule. Bring your movement baseline to a trainer and build a plan that improves movement quality while keeping your primary strength and fitness goals in the program.